You can buy a special tool do do this job, as well as instructions and wonderful saran hair which is PERFECT for Sindy by going to this website www.retrodolls.co.uk
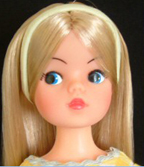
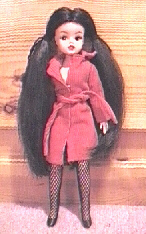
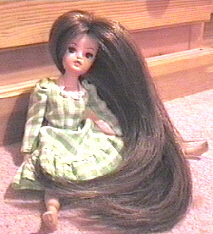
Here is some examples of what Patsy has achieved.
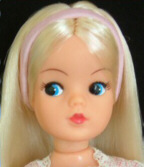
There are also lovely blacks and browns and more reds on the UK website www.RetroDolls.co.uk
Saran hair can also be purchased from the USA www.RestoreDoll .com
Australia www.RerootDoll.com
Remove The Head
If you find it hard to remove your dolls head just pop her into a cup of very hot water. This will soften the rubber enough for you to gently pull off her head. You might need to soak her for a few minutes. Don't worry she will be OK, her hair won't melt and her make-up will be fine.
Remove Old Hair
Cut the hair as short as you can. Then snip it as close to the scalp as possible. Get a pair of long nosed pliers and pull the hair out from the neck cavity. if the hair stitching inside is tight, just snip away inside the neck cavity several times to cut it up a little. Be careful when you do this to avoid cutting and removing the eyelash hair.
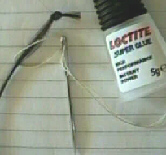
Tools
You will need, long nosed pliers, a strong darning needle, tough nylon mix cotton thread in a contrasting colour to the hair you are using, super glue & hair.
How To Reroot
1. Prepare the hair - Tie several hair together at one end, make sure thay are all the same length. Put a dab of glue on the litlte knot for safety (some people don't bother with glue but it depends on the hair you use). You will need to do this to make enough little bunches for the whole head.
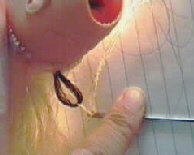
2. Thread a loop of cotton through the eye of the needle leavig the loop hand out, thread 1 hair bunch through the cotton (fig 1).
3. Push the eye of the needle with the loop into the scalp of the doll until you can see it through the neck cavity. Thread the knotted hair through the loop (fig 2).
4. Pull the thread and needle from the scalp out, the hair should follow through easily (fig 3).
If it gets tough use the plirs to help you but be careful not to slip.
Fringes
To give Sindy a fringe make you plugs sit very, very close together. You can plug into them twice, once for hair length and again for the fringe! You may need to make several new holes to do this.
Flatten Hair
To keep the hair flat and stop it sticking up, you can wrap some plastic around her head. You will see that new Barbies in ther boxes have this on them to keep the hair flat. It will need to keep it like this for a few days. The plastic can stay like this when the doll is not being displayed to help keep it's shape.
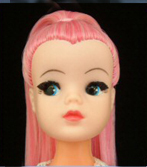
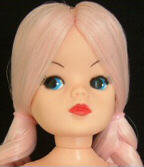
Left to right figures 1-3.

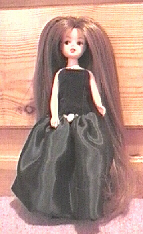
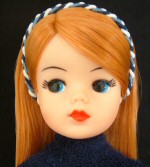
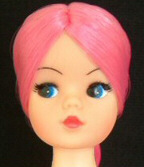
Centre Doll - chestnut hair 1970s head is made of harder plastic, her hair colour is a mix between the red & black hair from the other two dolls.
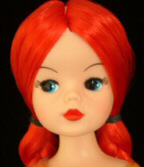
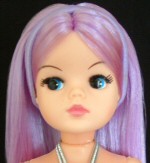
Far right - doll red hair with standard centre-parting.